5 Ways To Take A Screenshot On Mac
Mac users can use the built-in screenshot shortcuts to quickly capture the screen on Mac and save it in PNG on their desktop by default. With the release of macOS Mojave, Apple really revolutionized their Mac screenshot utility by adding a single command that opens a screen capture menu. Once you master this command, taking screenshots will feel easy and intuitive.
Mac users can use several shortcut keys to open Apple’s native screenshot tool to capture Mac’s screen. Here, we will lay out 5 shortcuts for different screenshots that you can use to meet your specific needs.
Table of Contents
5 Different Screenshot Shortcuts
Shift + Command + 3
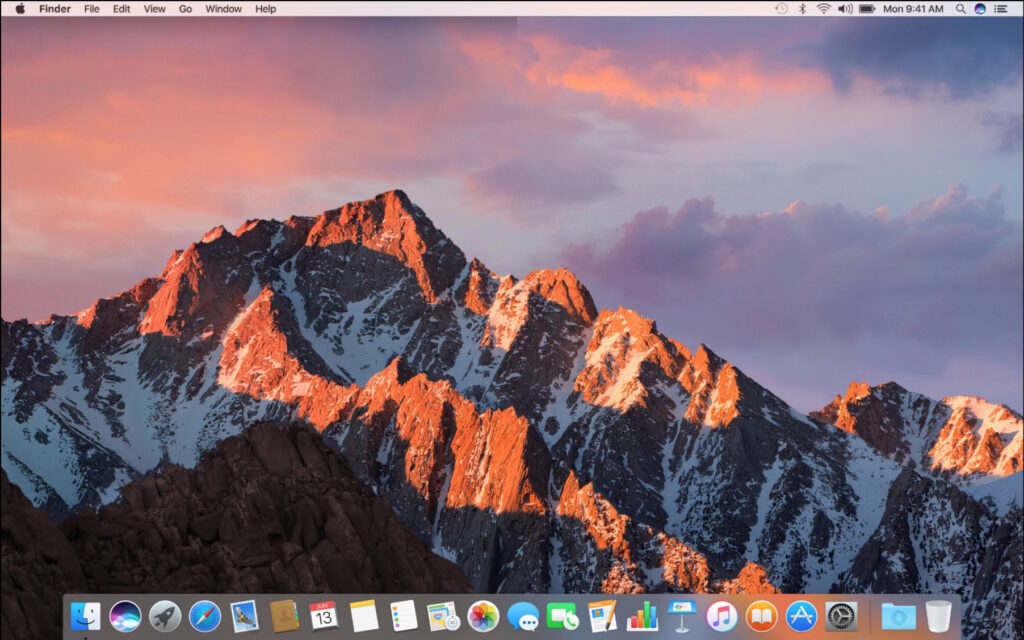
When pressing the Shift, Command and 3 keys on the keyboard at the same time, Mac users can easily capture a screenshot of the current screen. If you stay on the desktop to take a full screenshot, the effect is as shown below:
Shift + Command + 4
In 80% of cases, Mac users take a screenshot of a specific area on the screen. Grab an image, capture a joke from your work chat, or show something on your screen. And the obvious thing: if you want to capture a selected area, you might as well use this shortcut. The Shift + Command + 4 shortcut keys will open the partial screenshot rather than the screenshot of the entire screen, and a crosshair will appear on the screen.
Crosshair is the starting position of the screen capture, you need to hold down the left mouse button and drag it to automatically complete the screen capture and save it to the Mac desktop.

Shift + Command + 4 + Space
When you, like us, often need to take some window screenshots, then these shortcuts keys will help you.
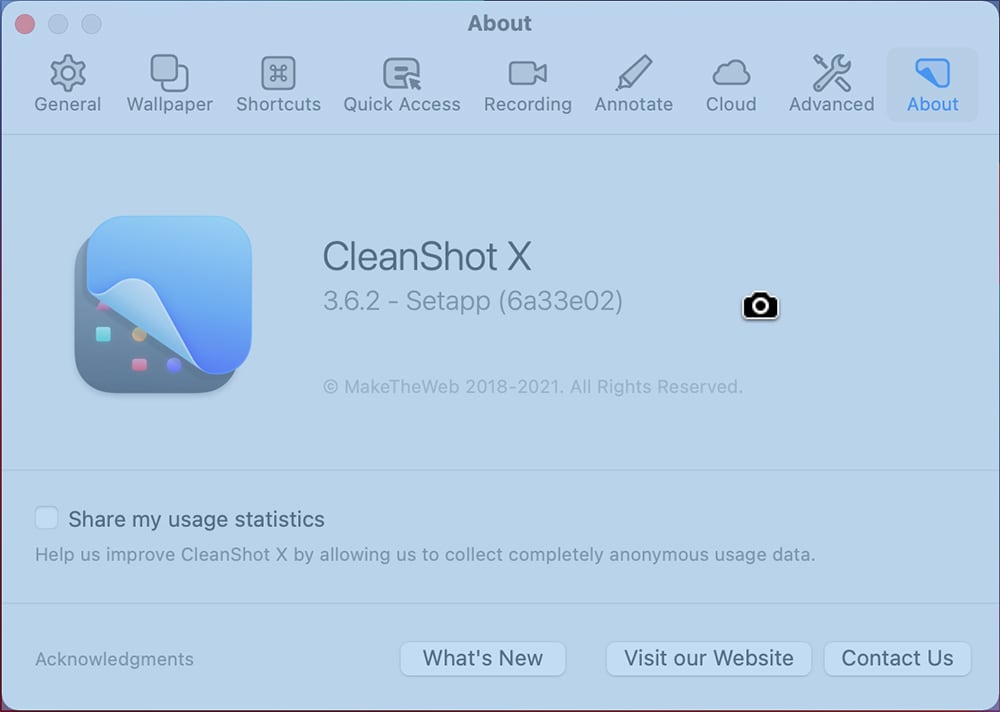
- First, press the Shift + Command + 4 shortcut keys on the keyboard, then release them and press the Spacebar.
- Then you will see a camera icon, move the camera to the window you want to capture, and left-click the window to automatically capture and save it to the desktop.

The following is a screenshot of the window with the shadow effect: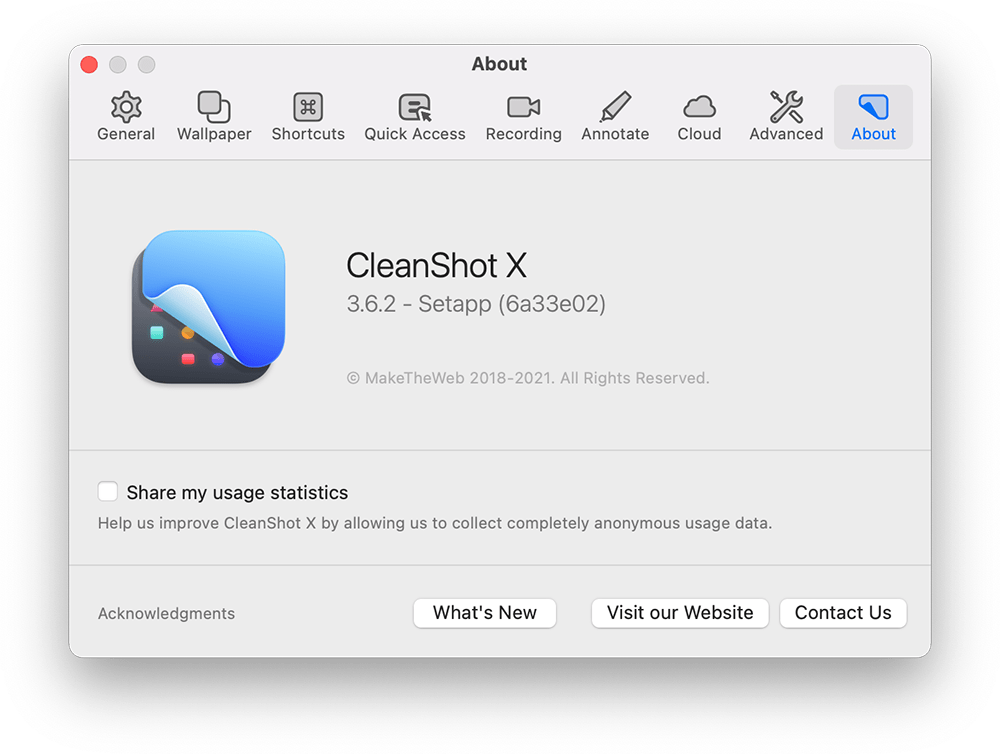
Shift + Command + 4 + Space + Option
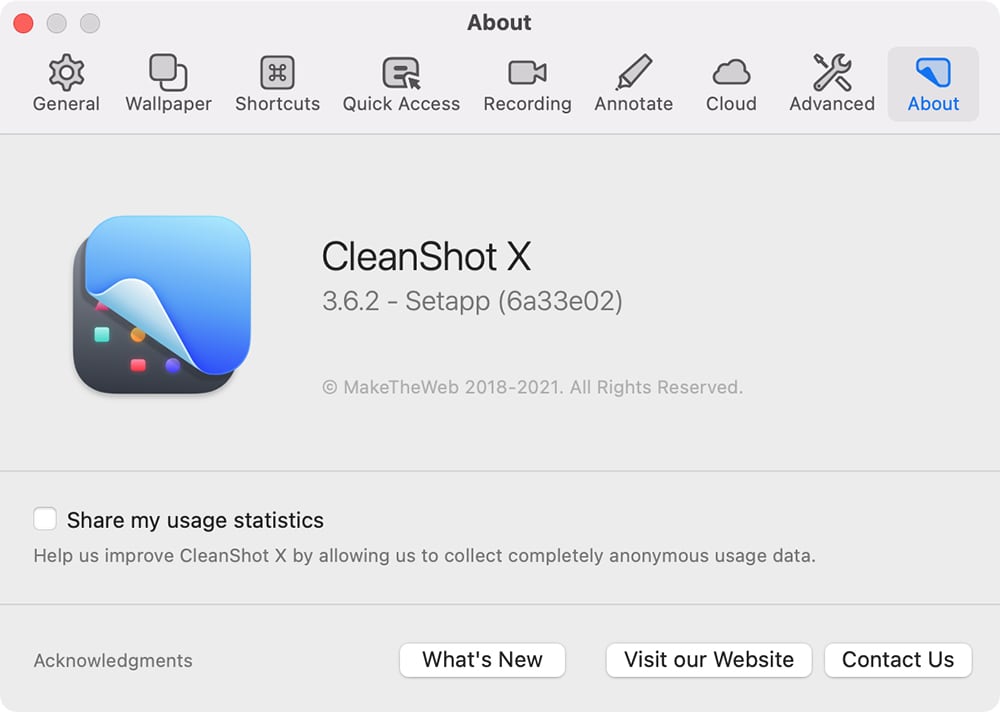
- If you don’t want the screenshot window to have shadows, press the Shift + Command + 4 shortcut keys first.
- Press Spacebar, then press the Option key.
- Move the camera to click the target window.
- Similarly, after taking a screenshot on the Mac, the PNG image will be automatically saved on the desktop.

Shift + Command + 5
Current versions of the macOS (Mojave, Catalina, Big Sur, and Monterey) come with a Screenshot app. Press Shift + Command + 5 will open the app with a small menu panel appearing at the bottom of the screen.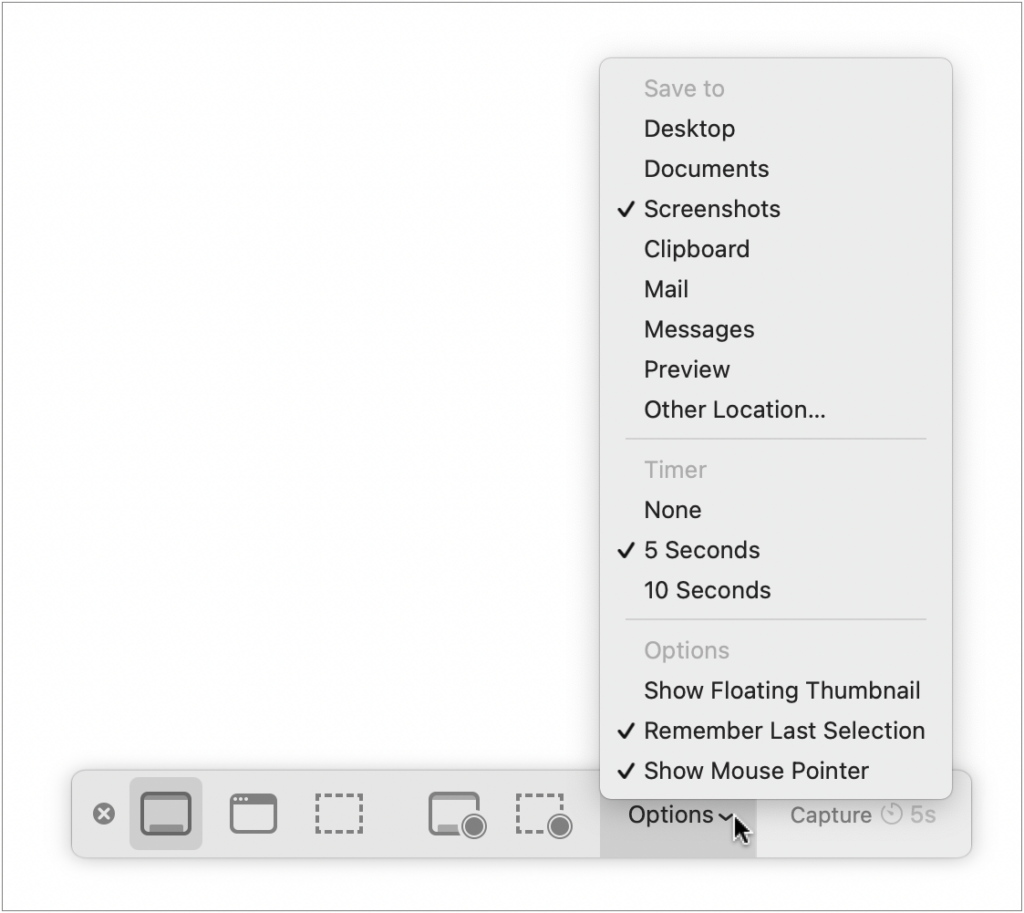
The three icons on the left allow users to take a screenshot of the entire screen, a specific window, or a highlighted section. The next two icons to the right will let you record a video of the entire screen or just a highlighted section.
There’s also a menu labeled Options. This menu lets you choose where to save your screenshot, how much time you want between pressing Capture and the screenshot being taken, and more.
Conclusion
The above 5 different Mac screenshot shortcuts will help you easily take a screenshot of the entire screen, a specific window, or a highlighted section. Try it now!
Previous Article
How To Recover Deleted Pictures From Photo Booth? Summary: Like Windows, Mac also has its own shortcut keys for taking screenshots, which are more convenient and simple. In...Next Article
How To Fix The Issue This PC Can’t Run Windows 11 Summary: Like Windows, Mac also has its own shortcut keys for taking screenshots, which are more convenient and simple. In...
About Bitwar Data Recovery
3 Steps to get back 500+ kinds of deleted, formatted or lost documents, photos, videos, audios, archive files from various data loss scenarios.
Learn More
