Comment rooter un téléphone Android (avec PC)
.Summary: This article lays out the most common way for users to root an Android phone on a PC.
Prerequisites
Make sure you have met the following requirements:
- Device powered ON
- At least 50% battery level
- Internet connection necessary
- USB Cable (the original one recommended)
The Complete Guide to Root an Android Phone
Step 1: Download and install KingoRoot Android (PC version).

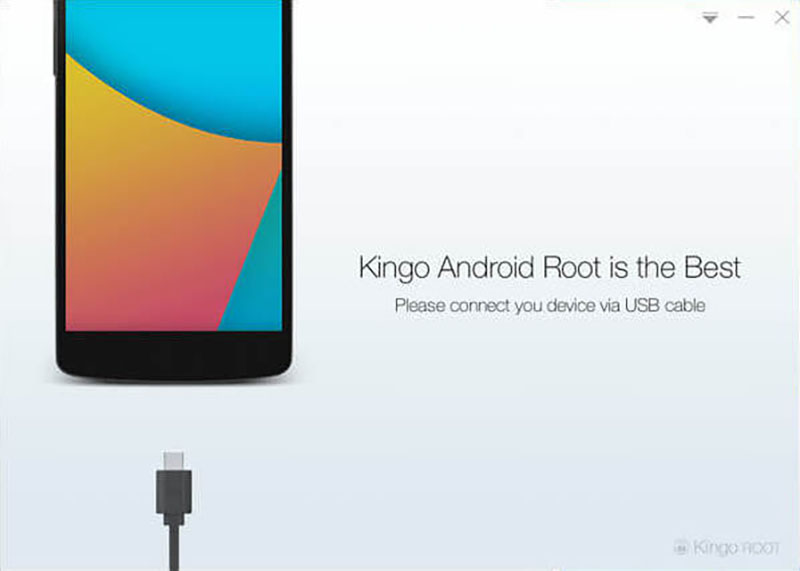
Step 2: Launch the software, and you will see the primary interface.

Step 3: Connect your phone to the computer with a USB cable.

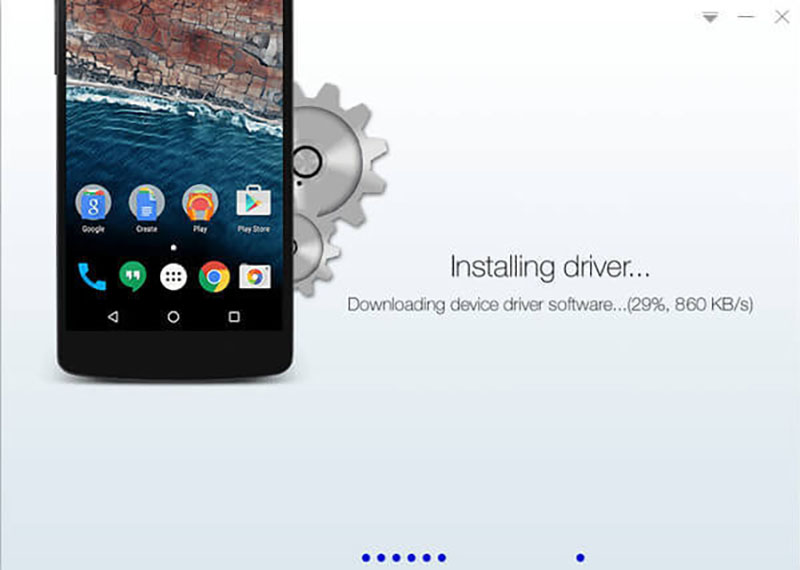
Note: If the corresponding device driver hasn’t been installed on the computer, the software will automatically download and install it. Make sure the internet connection works appropriately; otherwise, the software can’t download the driver.
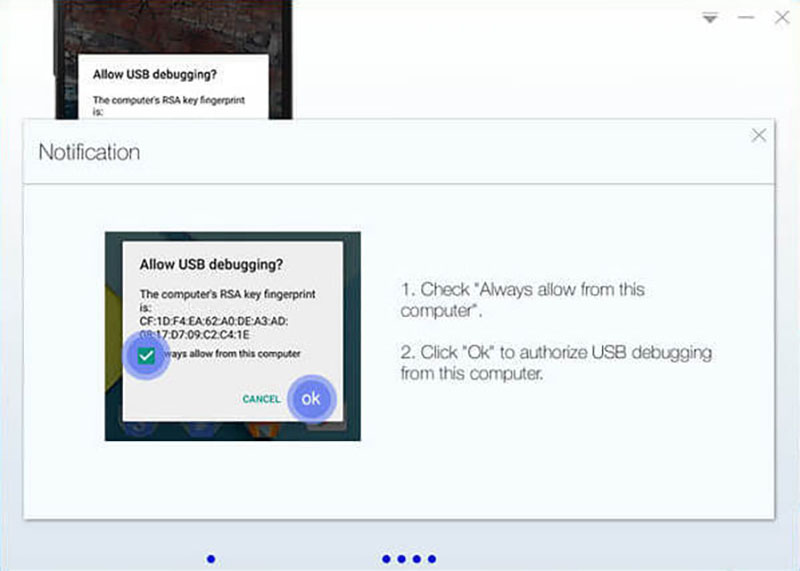
Step 4: Enable USB debugging mode on your phone
A prompt will pop up on your device; please tap “Always allow from this computer”

Noter: Users who don’t know how to enable USB debugging mode can refer to the following guide:
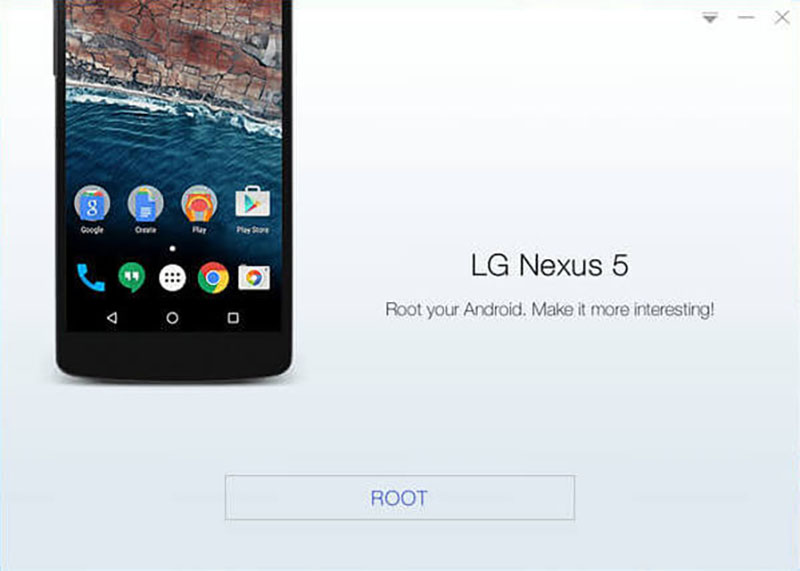
Step 5: Click on ROOT to root.
The process should take a couple of minutes. During the rooting, it’s ordinary that the device may automatically reboot several times, and users should not perform any operation on the device.

Step 6: Root succeeded
The software will bring up a message showing that the rooting has succeeded. Don’t perform any operation before the device reboots itself.

Step 7: Check the root status of your phone.
On the device, users will see an APP, SuperUser, which means that the rooting has been successful.
![]()
For users who presently don’t have access to a PC, there is a more convenient way to root their phones:


