Choose a Scanning Mode
Summary: This article introduces the three scan modes of Bitwar Data Recovery in stage two and other related information about them. For the part of the guide about stage one, please click the link: Get Familiar With the Two Recovery Modes. Here in this article, we use Wizard Mode as an example.
Table of Contents
Which Scan Mode Should You Choose?
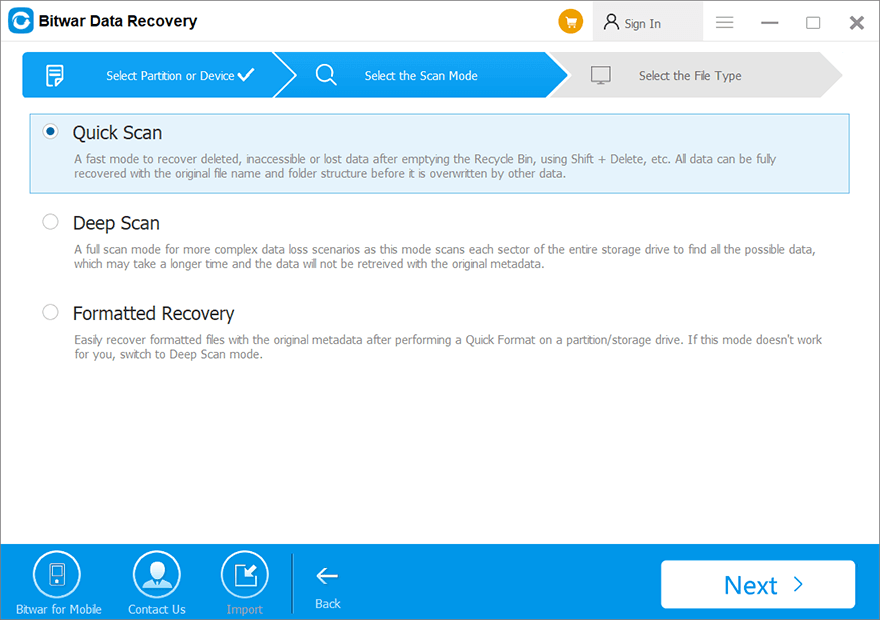
If you have selected a partition to proceed in the first stage, you will see an interface like the image below:

Quick Scan
No matter how you lost your files, Quick Scan is the choice we would like to recommend first. It has three features:
- Recover files of original names and with original directory structures.
- Offer three ways for users to filter pre-recovered files: Types, Path, Time
- Can finish recovery on a 1TB disk drive in just a few minutes.
Deep Scan
Deep Scan goes over every part of the selected disk. If you can’t find the files you want by using the Quick Scan, try this scan mode.
- Recovers files renamed randomly and put in separate files according to respective file types.
- Offers only one way for users to filter pre-recovered files: Types.
- Offers range setting.
- Consumes more time than Quick Scan
Formatted Recovery
This scan mode recovers files on a disk that has been Quick-formatted. The precondition is that the files on it haven’t been overwritten. It has the same features of Quick-Scan but consumes more time than it.
Choose the scanning mode as needed and then proceed to the next step or you can take your time to check below video tutorials in detail.
Video Tutorials
Here we have posted two videos that illustrate how to use the scan modes.
Quick Scan Mode
Deep Scan Mode
For the next step about the scanning interface, click on the link:


