ابدأ في Bitwar Android Data Recovery
ملخص: This article will expound on details about the Installation and the interface of Bitwar Android Data Recovery.
جدول المحتويات
تحميل برنامج
Go to the Software Official Download Page and download Bitwar Android Data Recovery for Win Version.
تثبيت البرامج
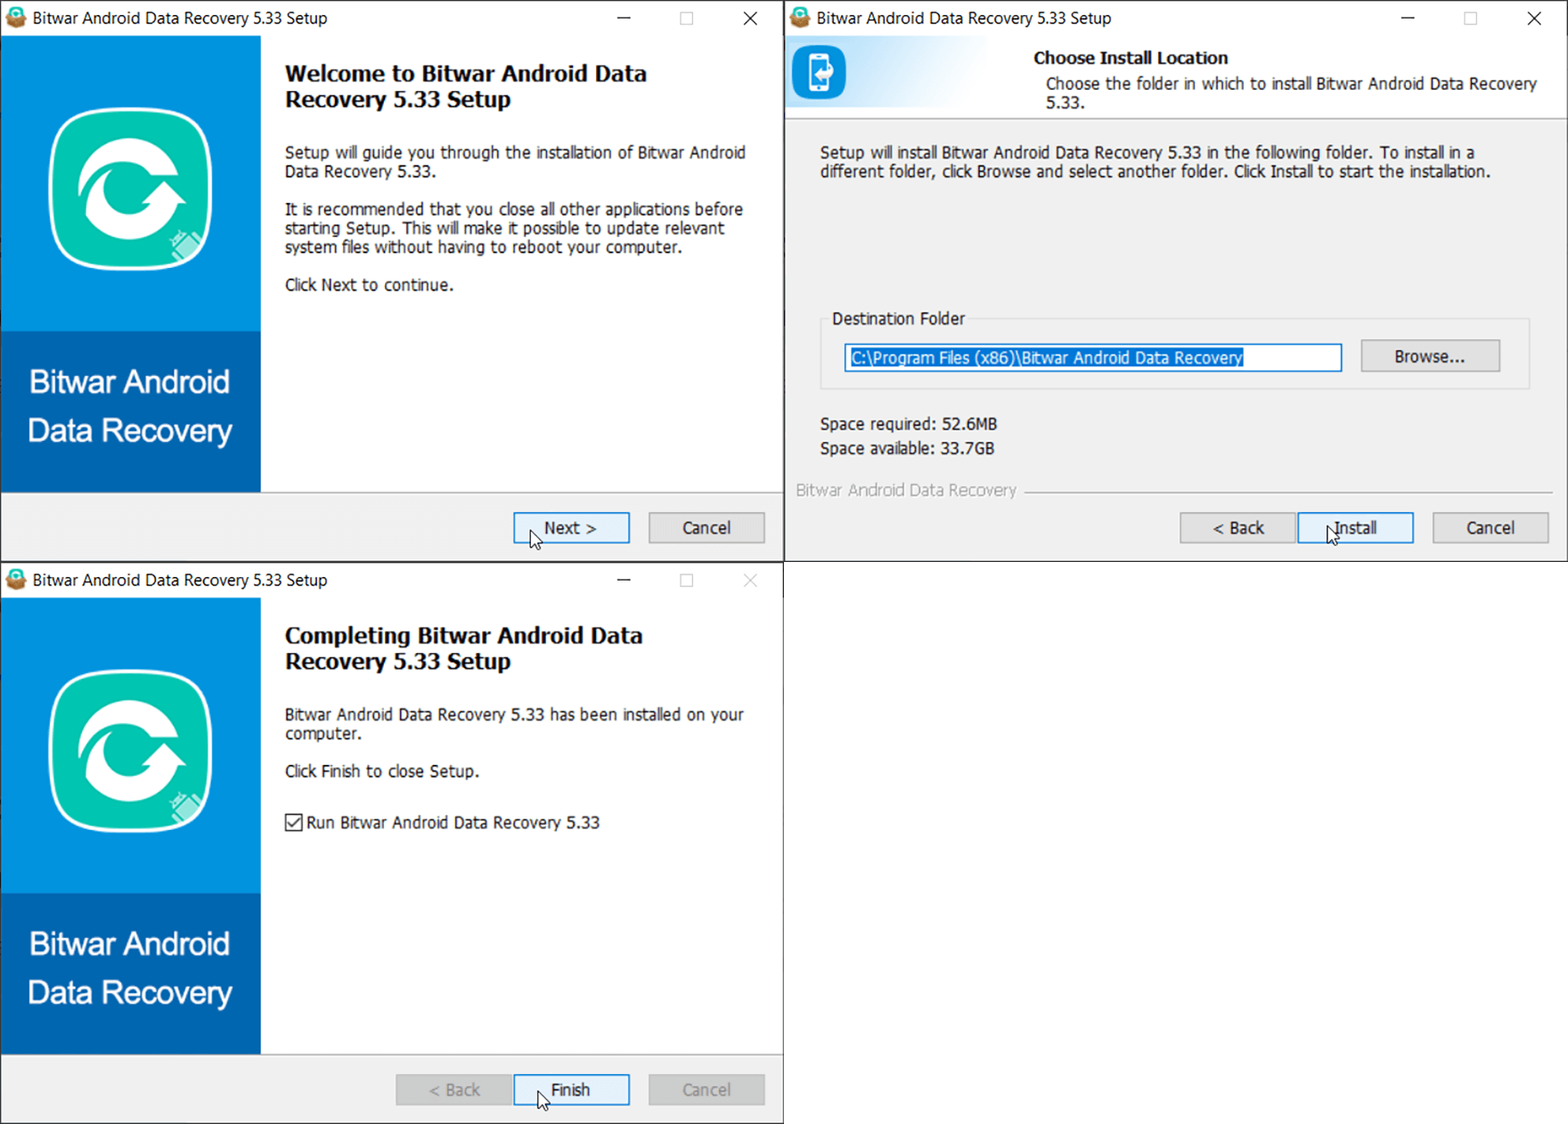
1. Double-click on the Bitwar Setup and start the installation.
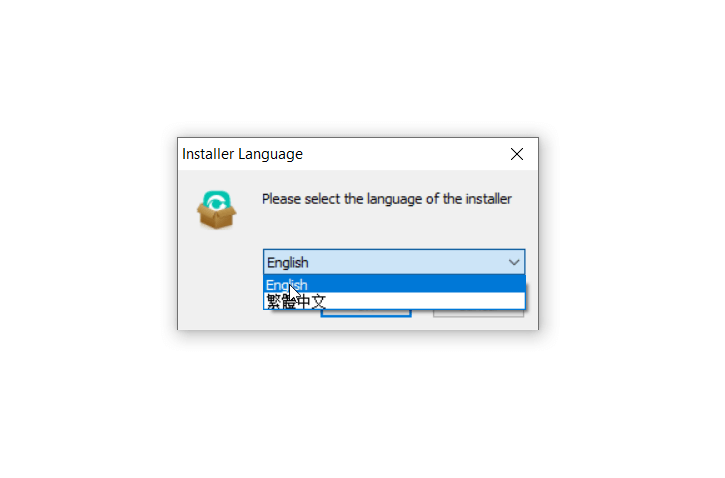
2. Choose a Default Language and click حسنا.

3. التالي > Choose a destination to store the program > تثبيت > إنهاء

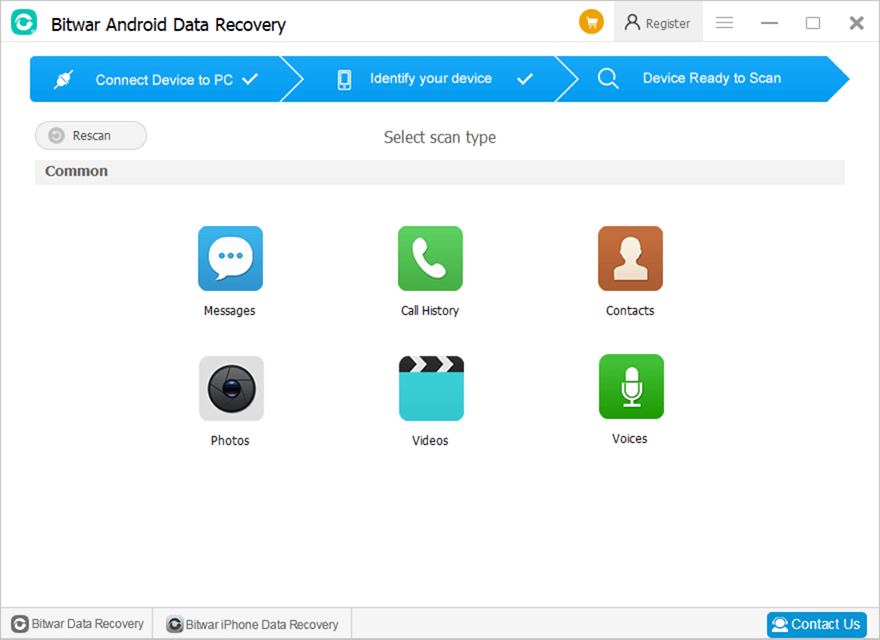
Now that you have successfully installed the Bitwar Android Data Recovery for Windows, let’s take a look at the main interface.
Processes of Android Data Recovery
Step 1: Bitwar Android Data Recovery requires the Android phone to be connected with the computer using the USB cable, and enables the USB debugging feature.
Note: Unable to connect your device to the computer? Click on the link to learn how: كيفية توصيل جهاز Android بجهاز الكمبيوتر الخاص بك؟
Step 2: Once the Android device is successfully connected to the computer, the program will automatically identify the Android phone whether root or not, you should follow below two articles to learn how to root the Android Phone:
Step 3: After successfully root the phone, Bitwar starts to detect whether to install the Mirror Tool, this is a tool to back up your Android Phone to the local disk and prevent the data from being overwritten if you keep using the Android phone.
Step 4: Now, you will be redirected to this main interface and let you select the desire data types to be scanned.

Featured Buttons
- The Yellow Cart is where users can purchase the software license (In-software Purchase).
- The Avatar Icon is where users can register, login/out, reset their passwords, and see account information.
- The More Icon shows Update, Authorize, Loadmirror, Interface Language, Feedback, and حول.
Six Recoverable File Types
There are six file types users can recover using the program. Please refer to the following link to learn how do recover them:


